-40%
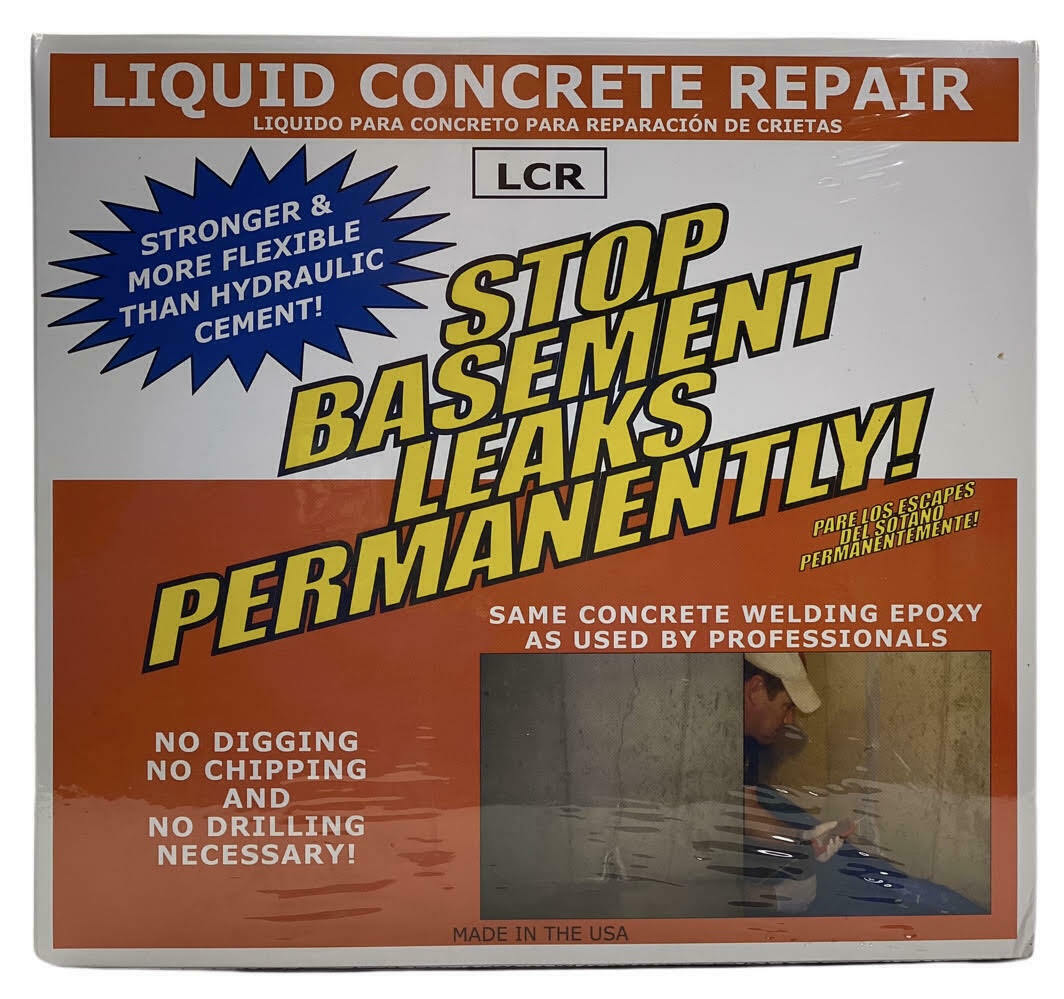
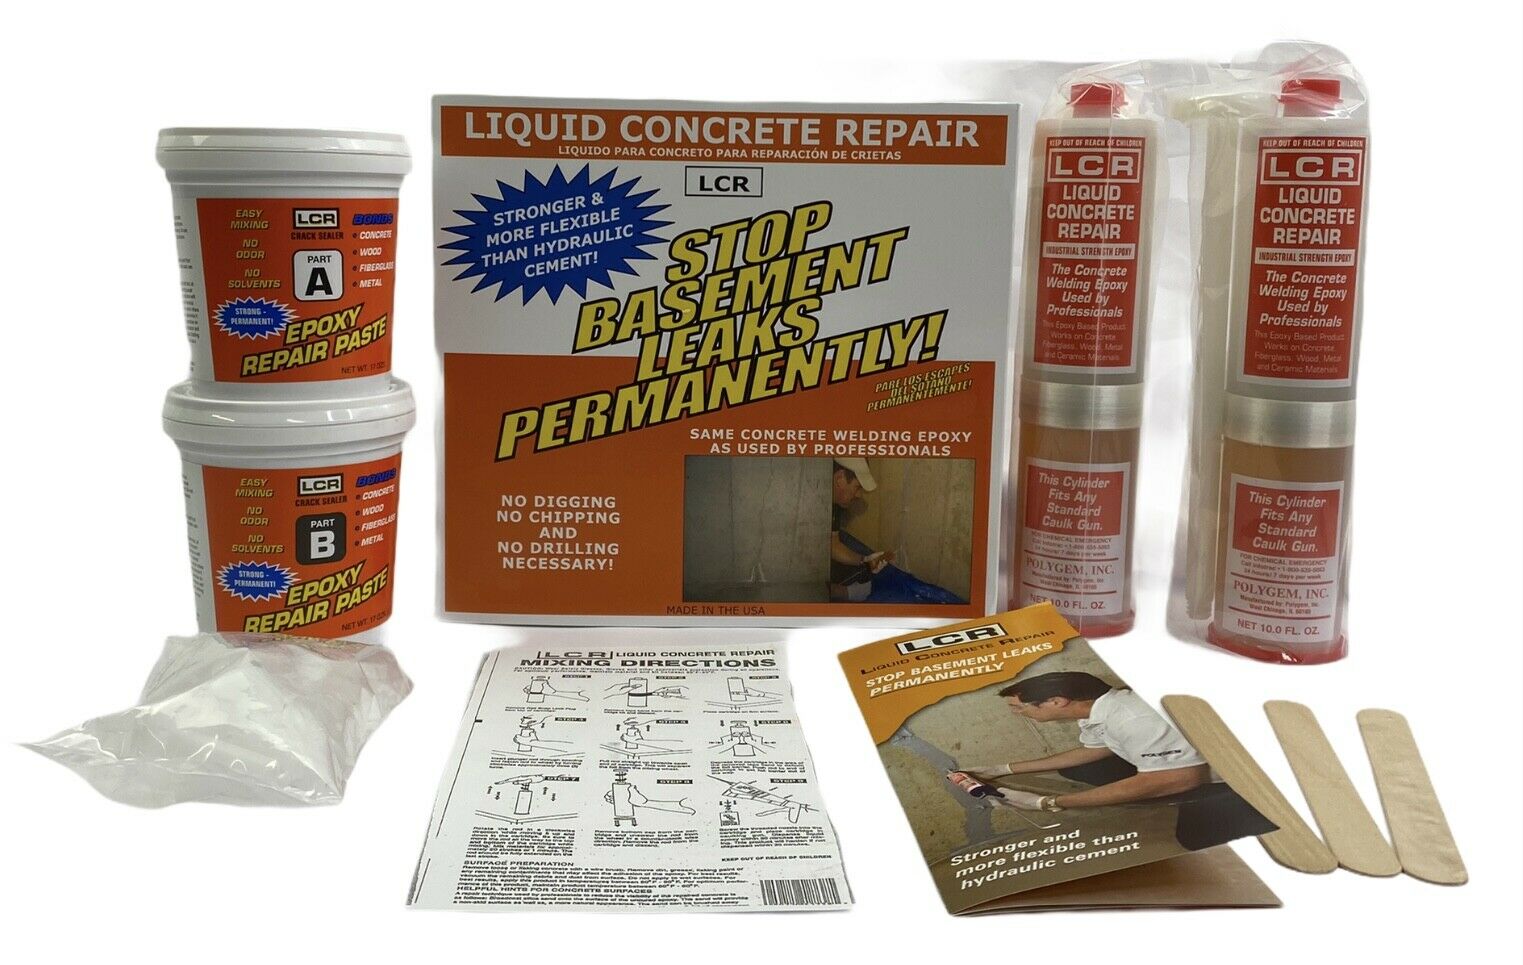
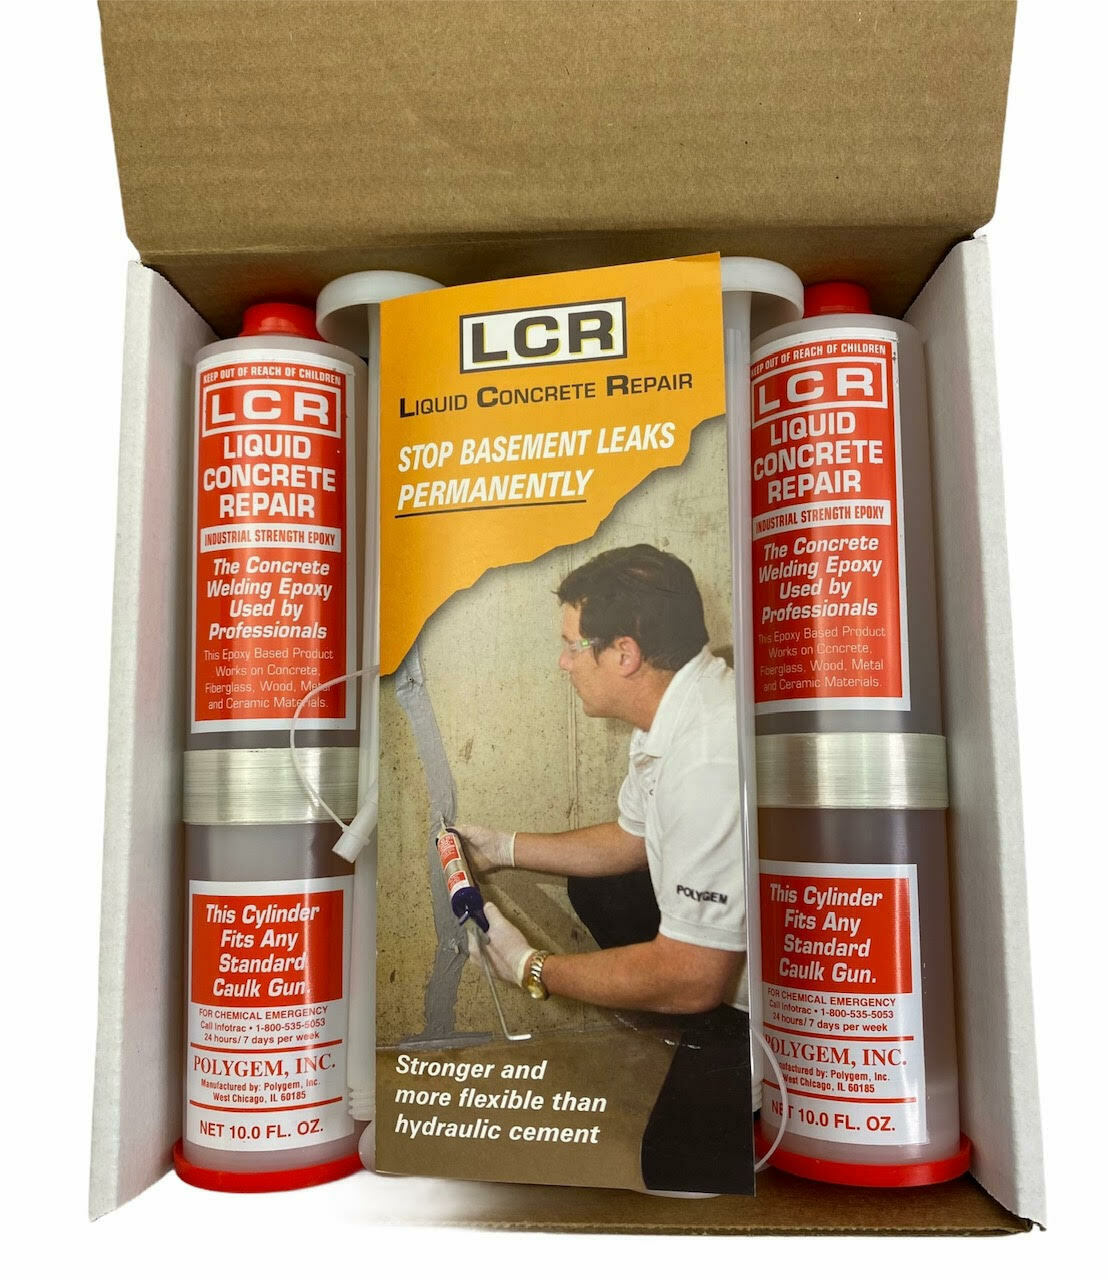
Polygem Liquid Concrete Repair LCR Kit Cement Crack Filler Paste Kit 2735LCR DIY
$ 61.24
- Description
- Size Guide
Description
Polygem Liquid Concrete Repair LCR Kit Cement Crack Filler Paste Kit 2735LCR DIYThe perfect concrete crack and leak repair system for the Do It Yourself home repair person. Easy to understand, detailed instructions, easy to apply, with common tools. Expanding foam injection applied using a standard caulking gun. (Not Included)
Stop basement leaks permanently! Liquid Concrete Repair is a unique epoxy developed for the repair of cracked concrete. This epoxy is also ideal for restoring delaminated wood and bonding metals and fiberglass. Each kit will fix approximately one crack that measures 1/16" wide by 8' long by 8" deep.
LCR MV MAXIMUM PENETRATING INJECTION EPOXY
DESCRIPTION:
LCR MV is a 100% solids, two-component, moisture insensitive epoxy designed to permanently restore structure and design strength to cracked concrete structures. Unique wetting properties allow maximum penetration of LCR MV into cracks above .005”. The LCR MV can be used on wet or dry surfaces, as well as underwater.
Features
Epoxy-based crack filler
Injects deep into cracks and expands to fill all gaps and stop leaks
For vertical and horizontal applications
INSTRUCTION SEQUENCE:
1. CRACK PREPARATION: The surface of the concrete must be clean and dry to ensure good adhesion of the LCR CRACK SEALER. No drilling, chipping or “V” Grooving is necessary!
2. MIXING CRACK SEALER: Remove a small portion of CRACK SEALER “A” and an equal amount of CRACK SEALER “B”. Mix both parts together until a streak free uniform gray color.
3. APPLY CRACK SEALER TO INJECTION PORTS: Apply a small bead of CRACK SEALER around the bottom edge of the round flange edge of the INJECTION PORT. Do not cover the PORT hole with the CRACK SEALER!
4. MOUNTING INJECITON PORTS: Place rounded flange base of INJECTION PORT directly over crack and the crack should be visible through the neck of the INJECTION PORT. Apply additional CRACK SEALER paste around the base of the port and out at least 1 inch from the port base.
5. SPACE PORTS EVENLY OVER CRACK: Each port should be evenly spaced over the entire length of the crack approximately every 12 inches apart. The first port should be 6-12” above the floor.
6. APPLY CRACK SEALER OVER THE CRACK: Using the mixing sticks or spatula, apply the CRACK SEALER. over the entire crack surface. Also seal the floor/wall joint 6” either side of the crack and allow the CRACK SEALER to harden (appr.12- 24 hours).
7. DISPENSE LCR EPOXY DIRECTLY INTO CRACK: Follow the mixing instructions for the LCR CARTRIDGE then insert the nozzle into the lowest port on the crack. Slowly dispense the liquid epoxy into the crack and do not exert more pressure than a “firm handshake”. Inject until the epoxy appears out of the next higher port. Remove the nozzle from the port and plug the port with included plug.
8. REPEAT STEP 7 Move the cartridge nozzle up to the next higher port where the epoxy liquid appeared and continue to inject epoxy until the epoxy resin again appears and the next higher port. Repeat these steps until all ports are filled and epoxy may appear out the top of the crack.
9. CURING: Allow 48 hours for the epoxy to fully harden. Injection ports can then be removed and voids filled with remaining CRACK SEALER. The repaired crack can be sanded and painted.
USES:
For permanently repair cracks in concrete such as:
Basement foundation crack repair.*
Industrial warehouse and residential floors
Patios and sidewalks
Balcony, pool and parking decks
Reservoir, tank and pool leak repair.*
Cautions
Wear chemical goggles, NIOSH approved respirator, proper protective clothing and gloves to prevent direct contact of resins. Consult Material Safety Data Sheet for full listing protective requirements.
LCR MV may irritate eyes and skin. Avoid contact with eyes or prolonged contact with skin.
Any remaining contents of cartridge can get very hot. Keep out of reach of children.
Technical Data Sheet Included with Each Purchase
